6.2 KiB
Create a Fullscreen Material
Create a Fullscreen shader graph
To create a full-screen shader in Shader Graph, use one of the following methods:
-
Create a new Fullscreen shader graph:
- Go to Assets > Create > Shader Graph > HDRP > Fullscreen Shader Graph.
-
Modify an existing shader graph:
- In the Project window, select a shader graph to open it in the Shader Editor.
- In Graph Settings, select the HDRP Target. If there isn't one, go to Active Targets, click the Plus button, and select HDRP.
- In the Material drop-down, select Fullscreen.
- Open one of the Fullscreen shader samples.
This creates a shader graph that contains the Fullscreen Master Stack.
Fullscreen shader samples
HDRP includes sample Fullscreen shaders. To use these samples in your project:
- Select Window > Package Manager.
- Select High Definition RP.
- Open the Samples tab.
- Find Fullscreen Samples and select Import.
To see the Fullscreen shader graph samples in a scene, open the Fullscreen sample scene:
- In the Project window, open Assets > Samples > High Definition RP > Version Number > Fullscreen Samples > Scenes.
- Select the FullscreenSamplesTestingScene to open it.
- Select the Play button and use the arrow keys to switch between Fullscreen shader examples.
Apply a full-screen shader graph
You can apply a full-screen shader graph in a post processing effect or a custom pass:
- Apply a full-screen shader in a Custom pass.
- Apply a full-screen shader in a post processing effect.
Make a full-screen shader graph Blit compatible
To make a full-screen shader graph material compatible with assets or C# scripts that use the Blit() command, do the following:
- Set a source material for the
Blit()command in the shader graph. - Set the Blit pass in a C# script.
- In a Fullscreen custom pass, set the Pass Name to Blit.
Set a Blit source material
To set a source material for the Blit() command to use in shader graph:
- Double-click a Fullscreen shader graph to open it in Shader Graph.
- Create a MainTex node:
- In the Blackboard, select the Add (+) button.
- Select Texture2DArray.
- Select the Texture2D Array node you just created to open its properties in the Graph Inspector.
- In the Name property, enter
_MainTex.
- In Node Settings, enable the Exposed toggle so
Blit()can bind the texture. - Drag the MainTex node into your shader graph.
- Press the Spacebar to open the Create Node window
- In the Create Node window, search for the Texture 2D Array node and select it to create it in your scene.
- Connect the MainTex node to the Texture Array port of the Sample Texture 2D Array node.
- Connect the RBGA output port of the Sample Texture 2D Array to the Base Color block in the Fragment context.
Blit()automatically binds the source texture inside the_MainTexproperty.
Note: The type of source material node depends on the platform you use. Windows and some platforms use Texture2DArray and other platforms use Texture2D. To see which texture type to use, refer to the documentation for the platform you are using.
Set the Blit pass in a C# script
Shader Graph outputs multiple passes for compatibility reasons. This means you need to manually tell the Blit() command to use the correct pass. You can do this in any script that uses a full-screen pass, for example a custom pass or a custom render texture script.
The Blit pass is pass number 0. Use the following line to reference this pass:
Graphics.Blit(sourceTexture, destinationTexture, material, pass: 0);
Troubleshooting
This section helps you resolve the most common issues you can have in a full-screen shader.
Gray screen
Your scene appears gray if you read from and write to the color buffer in the same custom pass. To fix this, see Write to and read from the custom color buffer.
Missing part of full-screen effect
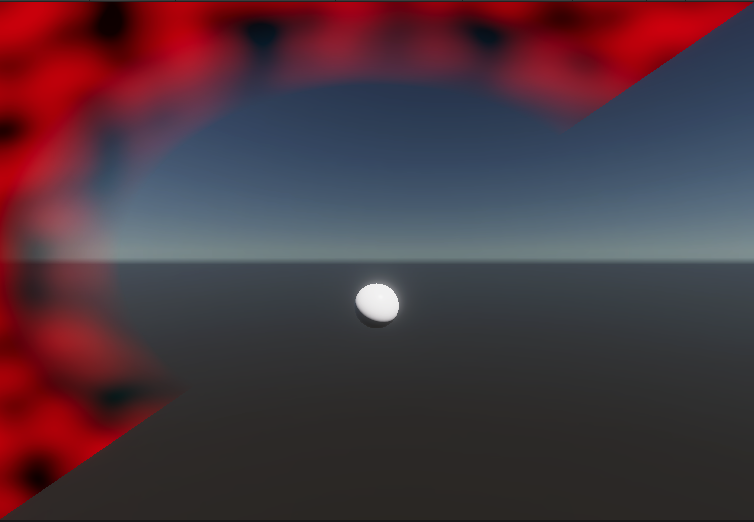
This error can happen when you use a full-screen shader with a custom pass C# script that uses the Blit() function, and you haven’t selected the Blit shader pass in the Inspector window or in a script.
To fix this error:
- In a full-screen custom pass, set the Pass Name property to Blit.
- In a post processing script, set the Blit pass to 0. For instructions, see Set the Blit pass in a C# script.
Inverted full-screen effect
In some cases, HDRP flips the full-screen effect upside down. This can happen when you write to the Camera color buffer with BuiltinRenderTextureType.CameraTarget or write directly to the display.
To fix this error, flip the material on the Y axis in the script that uses a full-screen shader. To do this, add the following line before the call that applies the full-screen effect:
material.SetFloat("_FlipY", 1);
Note: You can also do this with a MaterialPropertyBlock if you use a CommandBuffer to build your effect.

